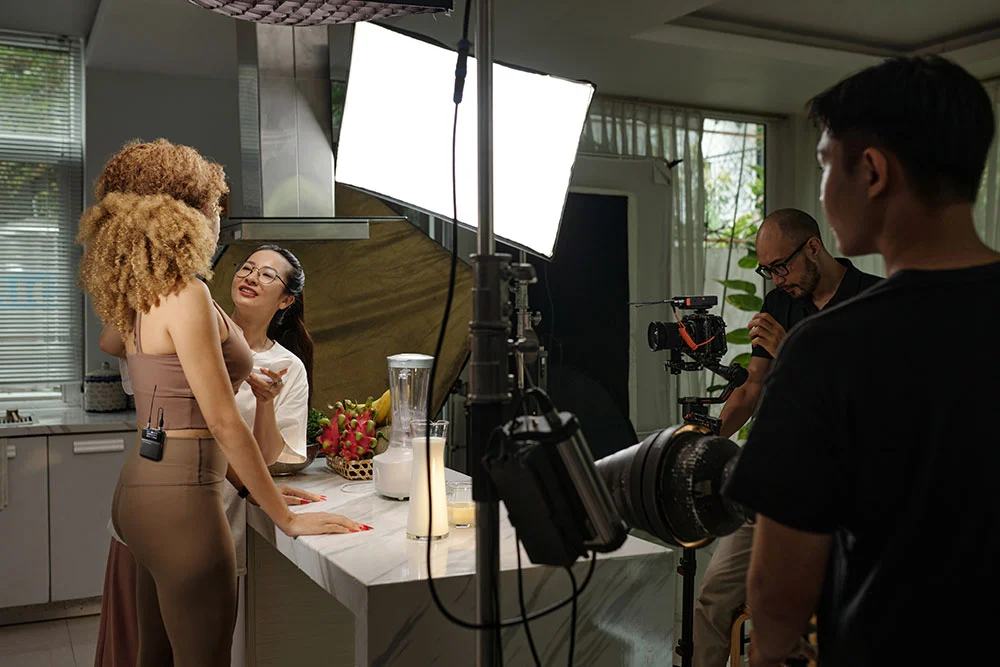
If you're beginning your journey in location sound mixing for documentaries and interviews, clean and intelligible sounds mean the make of your career.
From this blog post, you can take away 5 tips for location sound mixing, so you can avoid mistakes that can lead you to re-rig (miking up your talent once again) or some serious hours of processing in post production.
Tip No.1: Research the Location
Before we even mic up talents, conduct a thorough research on the "location", which oftentimes means what the talents will be wearing that day.
We may ask them what they'll be wearing that day. Denim, wool, nylon, and many other materials all pose different challenges for rustling.
When you know what they will be wearing that day, try your best to feel that material yourself. Slide it through your fingers and listen to the sounds they make.
Ask the talent to move, speak, sit, and gesture, so you can observe where the fabric pulls and ceases.
When you're done with these, you can have a better picture.
Tip No.2: Choose Your Mounting Gear
The lav-hiding accessories are just as important as the lavalier itself. In September, 2025, we launched CineBuff by Saramonic, 8 lav-hiding accessories for filmmakers. And they are:
- CineBuff Tape, a double-sided hypoallergenic adhesive that can keep the lav securely in place on skin or clothing.
- CineBuff Soft Tape, a discreet single-sided moleskin tape that keeps the lav hidden discreetly. Its beige moleskin prevents rustling noise and stays low-profile throughout its lasting hold.
- CineBuff Foamies, a soft foam pad designed for lavs, which features a high-density foam on one side for reducing rustling noise and a medical-grade sticky side for securely fixing the lav in place.
- CineBuff Stickies, soft foam-padded adhesives that feature a 1-mm thick foam between the stickies and medical-grade adhesives on both sides.
- CineBuff Fur Square, square accessory made from ultra-soft and high-density faux fur for reducing wind noise for outdoor use.
- CineBuff Concealer Tap, super sticky double-sided adhesive that works with the CineBuff Fur Square for fixing lavs on clothing or skin.
- CineBuff Strap, a strap series that come in three sizes for holding transmitters safely on the talent. Made from skin-friendly and sweat-resistant fabric with excellent elasticity, its 1-mm thin profile offers wearing comfort in the long term.
Scenes diversify and it's never too prepared for unpredictable waredrobe. Get to know the CineBuff series via this YouTube video:
Tip No. 3. Find that Sweet Sonic Spot
Placing the lavalier is tricky. If it's placed too high up, we may catch breathing sounds. Too far away from the sound source, we are experiencing thin sounds. The sweet sonic spot is typically 6-8 inches (or 15 to 20 centimeters) down from the chin. So that's around your chest.
If you're miking up a male talent, place the microphone in the center, between the pectoral muscles. If the talent's wearing a buttoned shirt, we may hide it behind the second or third button.
For female talents, the center sternum can be the ideal place. We may also place the lav just above the cup, which is also a rock-solid and invisible location.
The rule of thumb of lav hiding is that we want to fix it in parts of the body that move the least during the scene.
Tip No. 4. Always create a strain relief
A strain relief loop is loop formed by the cable itself that prevents bumps and rustles from transmitting to the rest of the cable.
When we are done with the lav placing, create a small, loose loop around 15 centimeters from the clip. Then securely fix it to the talent's body or clothing using tapes.
This strain relief loop, as indicated by its name, is a shock absorber. When the talent accidentally yanks the cable, all the force will be buffered by the slack in the loop, not the mic.
The rule of thumb for this tip is that the cable should never be taunt and runs straight to the transmitter. Give it detours.
If you don't know what a strain relief loop looks like, here's a tutorial:
Tip No. 5 Test test test
Before the camera starts rolling, we have to put on our monitoring headphones to actively listen for problems.
We may ask the talent to do on-camera movements, ask them to speak, move their body around, raise their shoulders, and speak as they will be on camera.
This is for finding out the problems before it's official. If the talent sounds too thin or too boomy, fix it now. If there's rustling noise, fix it now. If there's wind noise, fix it now.
This last tip is a gateway to clean and intelligible location sound.
Quick Recap
To record clean location sounds, we have to:
- Know the fabrics so we can understand what challenges to prepare for;
- Choose lav-hiding mounting gear for the challenges;
- Find that sweet sonic spot: 6-8 inches from the chin;
- Always create a strain relief loop to prevent bumps and rustles and yanks;
- Ask the talent to speak, gesture, and move as they will on camera. Actively listen for and fix problems before the camera rolls.
To learn more about the latest news from Saramonic, join in our official social media: Facebook, Youtube, Instagram, X, Facebook Group.


.jpg)


