
Subscribe
Be the first one to know saramonic latest products, newest sponsorships, and event invites. Subscribe today.
There is nothing more frustrating than when your wireless mic crackles during the key part of a speech, the key moment of a livestream, or during wedding vows. This is a frustrating situation we know all too well. The bad news is that most of these problems are not the result of faulty equipment, but the result of small mistakes that are easy to avoid.
This guide will share with you seven practical tips to reduce dropouts and noise. This will make your wireless microphone work at its best each time.
The simplest rule of wireless systems is this: if the receiver can't "see" the transmitter, you may have issues. "Line of sight" simply means that there should be no large physical obstructions between the person holding the mic and the receiver box it plugs into.
Think of the radio wave like a beam of light. Your body, walls, metal pillars, or even a large group of people can block or absorb that wave and create weak signals, static, and dropouts. To remedy this, position your receiver so that you have a clear sight of the performer or speaker. If you can, put the receiver in a position where its antennas are above the heads of the audience, giving it the best view possible.
Never, ever skimp on batteries. A dying battery is the number one cause of poor wireless microphone performance. As the voltage drops, the transmitter's signal weakens, which dramatically reduces its range and makes the audio quality thin and unreliable long before it dies completely.
For any important event, always start with a fresh set of high-quality alkaline or lithium batteries. Don't try to "get one more use" out of them. If you use rechargeable batteries, know their realistic runtime and have a fully charged backup pair ready to go. A few dollars spent on good batteries is cheap insurance against a total audio disaster.
Your receiver's antennas are its ears. How you position them has a huge impact on how well it can "hear" the signal from the microphone. Laying them flat or letting them rest against a wall is a common mistake that cripples their performance.
For receivers with two antennas (known as diversity systems), the classic and most effective setup is a "V" shape, with each antenna angled out at about 45 degrees. This allows the system to capture signals from different orientations as a performer moves. Also, make sure the antennas aren't touching a metal surface or crammed in the back of a rack, as this can interfere with reception.
Your wireless microphone is trying to have a private conversation in a very loud room filled with other signals—like Wi-Fi, other wireless mics, and local TV broadcasts. A frequency scan is how your system finds a quiet corner in that room to talk without being interrupted.
Before every event, especially in a new location, use your receiver's built-in "scan" or "auto-scan" function. This process takes less than a minute and automatically finds the cleanest, most interference-free frequency available in that specific environment. Skipping this step is like walking onto a busy highway blindfolded; you might get lucky, but it's a huge risk.
Many people confuse "gain" with "volume," but they are not the same thing. Gain is the level of the audio signal coming into the system from the microphone transmitter. Setting it correctly is the key to clean, professional-sounding audio.
If the gain is too low, you'll have to crank the volume on your mixer to compensate, which also boosts background hiss and noise. If the gain is too high, the signal will distort and sound harsh and "clipped," a problem no amount of volume adjustment can fix.
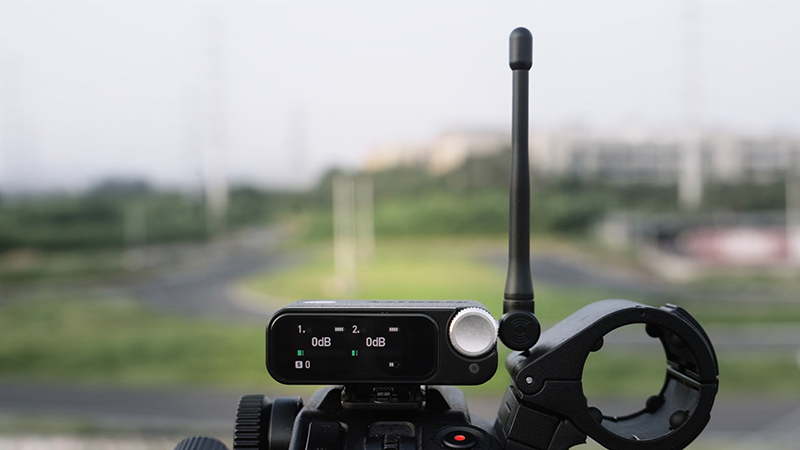
To set it, speak or sing into the mic at your performance volume and watch the audio meter on your receiver. Adjust the gain on the transmitter (the handheld mic or bodypack) until the meter is consistently in the green or yellow range, only occasionally touching the red on the loudest peaks.

Every wireless system lists a maximum operating range, like "300 feet." It's tempting to think you can use it right up to that limit, but this number is based on perfect, ideal conditions with zero interference. In the real world, you'll never get that.
A safe rule of thumb is to plan on using your system within 70-80% of its maximum stated range. Pushing the boundaries is the fastest way to experience random dropouts and static. Keep your receiver as close to the performance area as is practical. A shorter, clear signal path is always more reliable than a long, risky one.
Where you put the microphone on a person directly affects how they sound. A poorly placed mic can sound muffled, thin, or capture distracting clothing rustle and breathing noises.

Feeling overwhelmed? Don't be. Just run through this simple checklist before you go live, and you'll catch 99% of potential problems.
By learning these seven essential tips, you are not only solving problems but also stopping them before they start. You now have the know-how to take on any stage, camera, or event with assurance. Go ahead and capture that crisp, stable, and interference-free sound you've always wanted.