


💡 Key Takeaways
- Identify which side of the conversation is unclear. If teammates struggle to hear you, check your microphone and surroundings. If you struggle to hear them, check your headset fit and local noise conditions.
- Microphone noise cancellation and headset isolation serve different purposes. Microphone processing reduces unwanted sound in transmitted audio, while passive isolation limits surrounding sound reaching the listener’s ears.
- Start with placement, fit, and mute habits. Position the microphone correctly, choose a suitable wearing configuration, and mute unnecessary microphones before increasing volume.
- Test whether instructions are understood, not just heard. Use actual production cues at working positions during soundcheck, and confirm that names, numbers, and actions are understood.
- Investigate dropouts separately. Noise cancellation cannot repair a wireless coverage gap. Check the connection when speech cuts out along particular routes.
Your intercom sounded clear during setup. Then the PA system came on, the audience arrived, and a simple camera cue became difficult to understand.
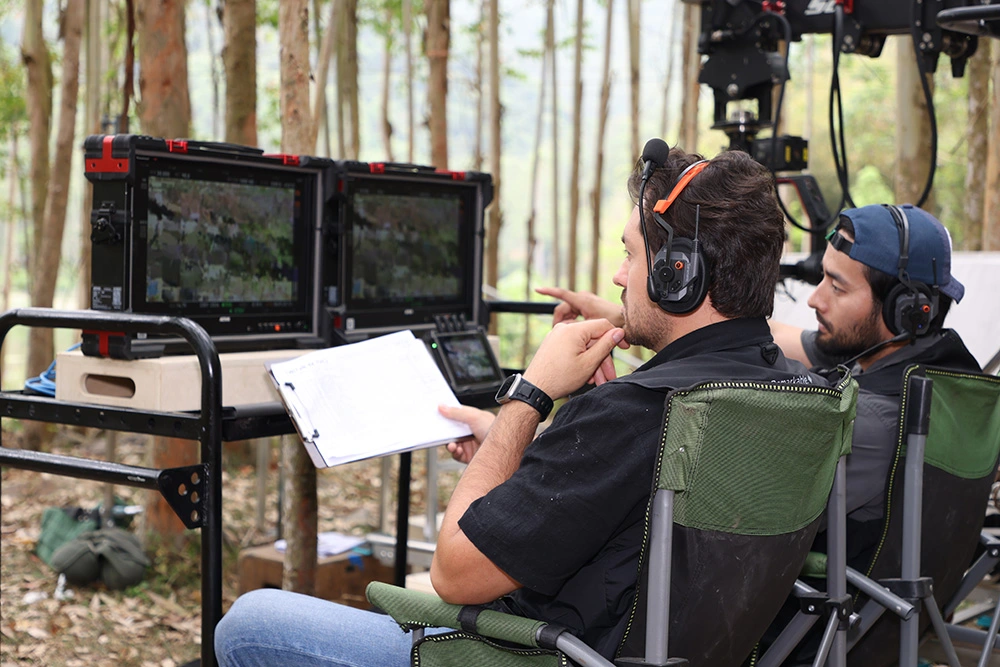
For film crews, stage teams, and live event operators, being connected does not always mean being understood. Background sound, microphone placement, headset fit, and overlapping conversations can all make instructions harder to follow.
The first step is to separate two problems: your teammates cannot hear you clearly, or you cannot hear them clearly. Each calls for a different check. Here is how to identify the problem and improve communication before the next important cue.
Identify Where Clarity Is Being Lost
Ask the crew to describe what they hear before changing settings.
| What happens | What to check first |
|---|---|
| Music or machinery becomes audible whenever one person speaks. | That person’s microphone position and surroundings. |
| Incoming voices are understandable in a quiet area but difficult to hear beside the stage. | The listener’s headset fit and wearing configuration. |
| Words cut out at particular positions or along certain routes. | Wireless coverage. |
| Individual voices are clear, but instructions disappear when several people speak. | Speaking habits and microphone muting. |
If you suspect a particular microphone is introducing noise, ask everyone to mute, then test one person at a time. This helps narrow the search before making changes across the whole system.
Understand Microphone Noise Cancellation and Headset Isolation
Microphone noise cancellation and passive noise isolation address different parts of a conversation.
Microphone noise cancellation helps reduce unwanted sound in the audio transmitted to teammates. It matters when someone is speaking near music, a crowd, or noisy equipment.
Passive noise isolation comes from the headset’s physical construction and fit. It helps limit surrounding sound reaching the listener’s ears. Even a clean incoming voice can be difficult to understand if local venue noise overwhelms it.
Earcup active noise cancellation is a separate feature. A headset with a noise-cancelling microphone should not automatically be assumed to provide earcup ANC.
This distinction explains why one adjustment may help only part of the crew. A camera operator beside the stage might need both cleaner microphone pickup for colleagues and a more suitable headset configuration for listening.
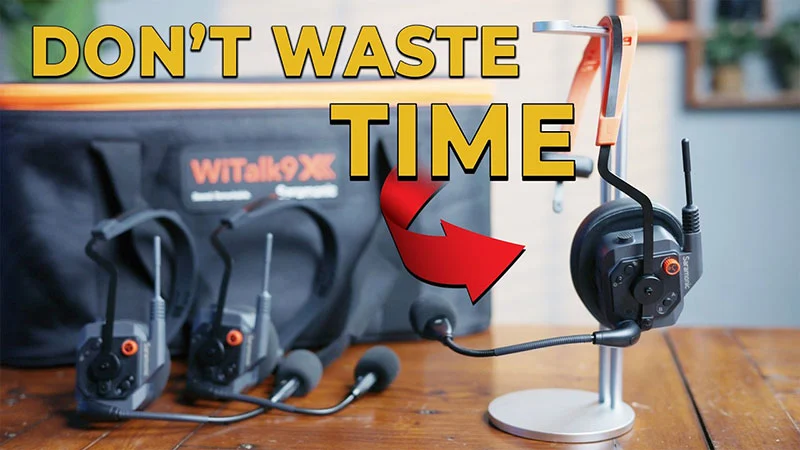
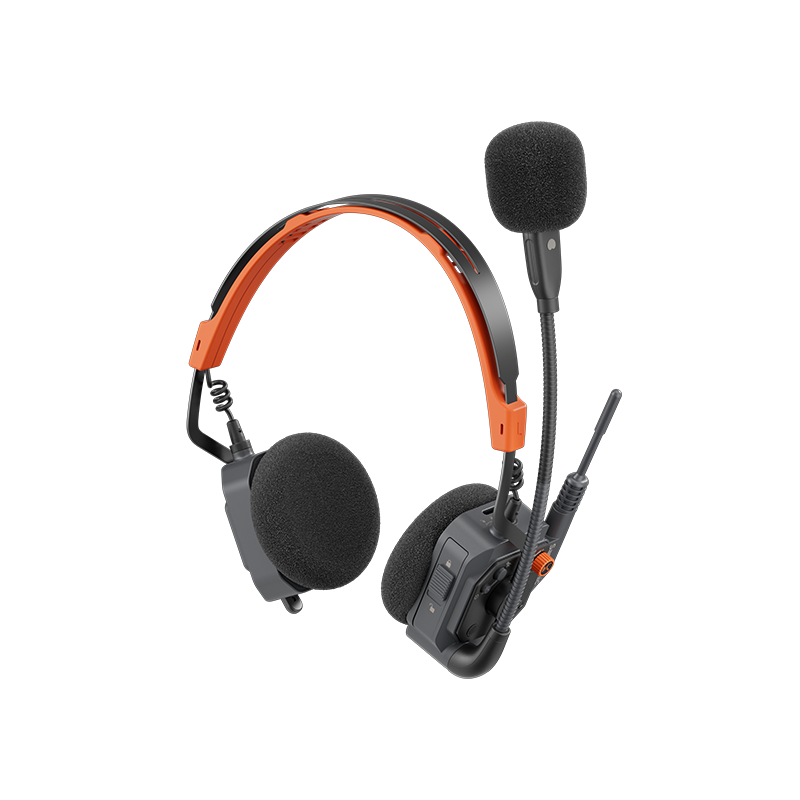
The Saramonic WiTalk9 X uses ClearTalk™ 2.0, combining a directional dual-microphone array with AI-powered noise cancellation to help separate speech from background noise. This helps teammates hear instructions more clearly in noisy production environments, while correct microphone placement remains essential for effective voice pickup.
1. Get the Microphone Position Right
Check the microphone before changing processing settings.
A boom positioned too far from the mouth captures a less favorable balance of speech and surrounding sound. Correct placement helps the microphone receive a stronger, more consistent voice.
Before rehearsal:
- Position the microphone near the corner of the mouth, following the headset manufacturer’s instructions.
- Check that a directional microphone faces the correct way.
- Make sure the boom stays in position when the wearer turns their head.
- Keep clothing and accessories from rubbing against the microphone.
Small placement changes can affect clarity, breath noise, and vocal consistency. Speak at a natural level while making adjustments. If someone needs to shout to be understood, inspect their microphone position and surroundings before treating louder speech as the solution.
Recheck the boom after adjusting the headband or putting the headset back on during a long production day.
2. Match the Headset to the Working Position
A director in a quiet control area and a camera operator beside a loud stage have different listening needs.
A single-ear headset can suit someone who frequently speaks with nearby colleagues or needs to hear local activity. A dual-ear configuration is worth evaluating when show or crowd noise makes incoming communication difficult to follow.
Fit deserves just as much attention as configuration. Check that the ear cushions sit correctly and that glasses or headwear do not interfere with the intended fit.
Test the headset while looking up, turning, and operating equipment. A fit that works while standing still may shift during normal movement.
WiTalk9 X’s modular design lets crews switch between single-ear, dual-ear, and helmet-ready configurations using the appropriate components. Detachable headband parts and replaceable cushions help users adjust the fit for comfortable wear. Replacing worn components individually can also help reduce maintenance costs and extend the headset’s service life.

3. Keep Unnecessary Microphones Muted
An open microphone can bring its surroundings into the shared conversation even when its wearer is not speaking. With several microphones open, background sound can accumulate.
Agree on a few practical habits:
- Mute during unrelated conversations.
- Unmute before giving a cue or confirmation.
- Leave space for the addressed person to respond.
- Keep nonessential discussion out of active cue sequences.
WiTalk9 X supports flip-to-mute operation and a dedicated mute button, while remote headsets also provide push-to-talk. Familiarity with these controls helps crew members manage when their microphones enter the conversation.
Practice before the event. A useful mute function only helps if everyone can operate it confidently without missing the start of their own message.
4. Test with Real Production Cues
A quiet-room check verifies basic operation. A rehearsal at actual working positions shows whether the crew can communicate effectively under production conditions.
Run the test during a representative part of soundcheck, with team members at their assigned stations. Use short instructions containing details that matter: camera numbers, names, actions, and positions.
For example:
Caller: “Camera two, prepare a close-up.”
Operator: “Camera two ready.”
This exchange tests more than whether a voice is audible. It checks whether the recipient understands who the instruction addresses and what action is required.
During the test:
- Have each crew member speak from their working position.
- Ask the recipient to repeat the important details.
- Note missing words or unclear numbers.
- Adjust one variable at a time, such as microphone position or headset fit.
- Repeat the same instruction to compare the result.
Judge noise cancellation by speech intelligibility. Some background sound may remain; the useful question is whether the crew can consistently understand the information needed to act.
Use the rehearsal to agree on communication habits too. Address the recipient first, keep instructions specific, and decide which cues require confirmation. If a detail is unclear, ask for that detail—“Repeat the camera number”—rather than restarting the entire exchange.
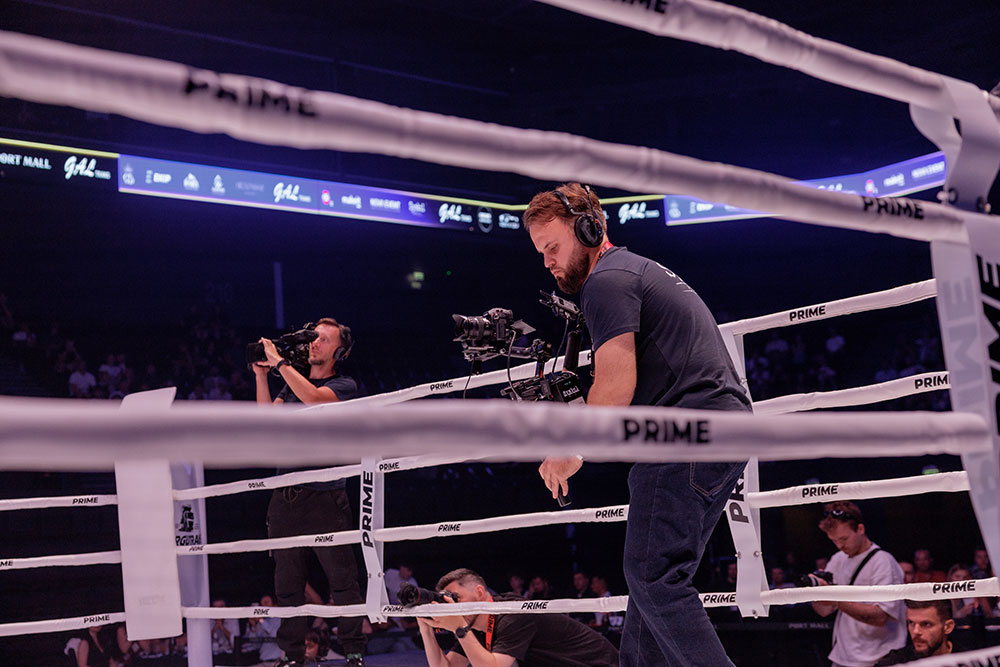
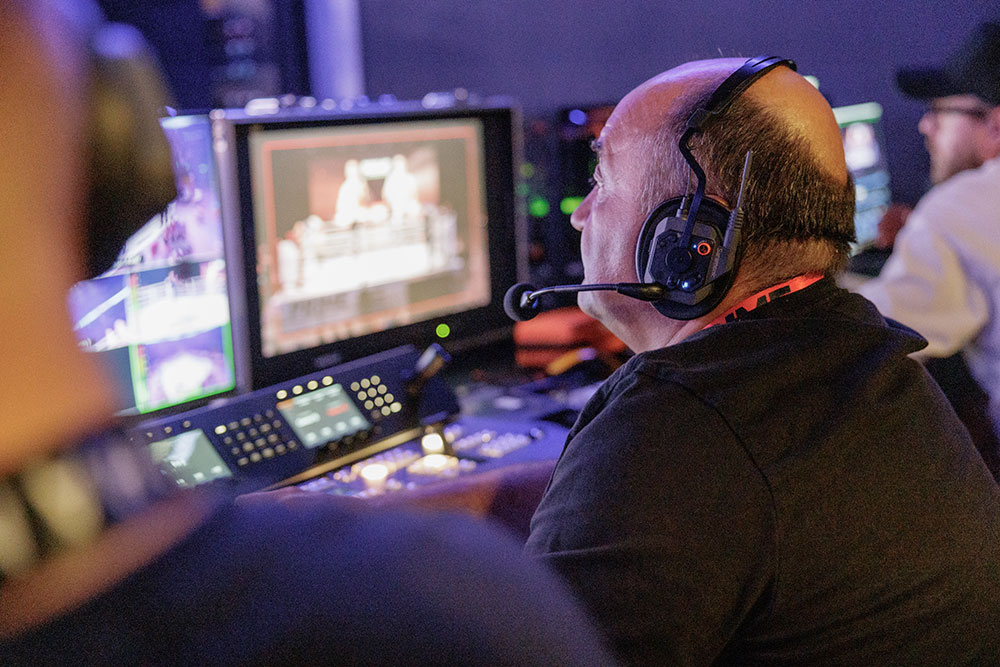
For a live sports example, the Prime Fighting Championships production team used WiTalk9 X with WiTalk Base in a venue with crowd noise and amplified sound. The case illustrates the kind of working environment in which headset selection and clear team communication matter.
If Speech Cuts Out, Check the Wireless Link Separately
Noise around a microphone and interruptions in wireless audio can sound like the same general problem: “I can’t understand you.” However, location-dependent dropouts need a separate check.
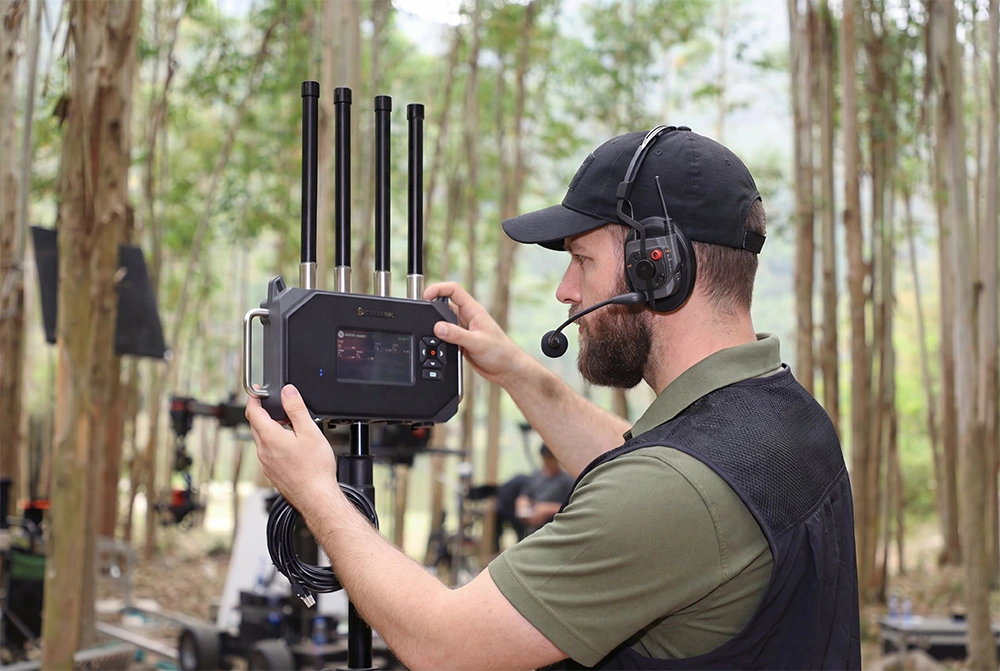
If words disappear at a particular doorway or camera position, have the same person repeat a phrase while moving between that area and a known working position. Keep microphone placement and settings unchanged, and note whether the problem follows the location.
If interruptions persist, investigate coverage and possible interference. Our guide to DECT vs 2.4GHz intercom systems explains how operating bands relate to interference. Noise cancellation will not resolve a wireless coverage gap.
Your Pre-Show Intercom Check
Before the production begins, confirm these five points:
| Check | What to confirm |
|---|---|
| Microphone placement | Each voice is clear at a natural speaking level. |
| Headset fit | The headset stays correctly positioned during normal movement. |
| Mute controls | Everyone can mute and unmute confidently. |
| Working positions | Fixed stations and movement routes have been tested. |
| Cue clarity | Recipients can accurately repeat important names, numbers, and actions under representative noise conditions. |
Conclusion
Clear intercom communication on a loud set depends on microphone placement, headset fit, noise reduction, and crew habits working together. Start by identifying whether the problem affects what your teammates receive or what you hear locally, then make targeted adjustments.
WiTalk9 X brings together AI microphone noise cancellation, flexible wearing configurations, and accessible mute controls to support that workflow. A rehearsal at actual working positions helps your team put those features to use before the first cue.
The most useful test is simple: can the right person understand the instruction correctly the first time?
Frequently Asked Questions
Why does my intercom sound clear during setup but become difficult to hear during the show?
Setup may happen before the PA, production equipment, and audience contribute their full background sound. Test again during soundcheck with crew members at their working positions. If speech cuts out rather than becoming masked by noise, investigate the wireless connection separately.
Can AI noise cancellation remove other people’s conversations?
Nearby speech can be difficult to separate from the intended speaker, especially when another person is close to the microphone. Do not expect AI processing to remove every conversation. Correct microphone positioning and muting during unrelated discussions remain useful.
Should everyone on the crew use a dual-ear headset?
The choice depends on each role and working environment. Someone beside a loud stage may benefit from a dual-ear configuration, while a colleague who frequently interacts with nearby staff may prefer single-ear operation. Evaluate each person’s ability to understand cues and hear necessary local activity.
Should I increase microphone gain or headset volume when communication is unclear?
First identify which side of the conversation needs attention. Headset volume changes what you hear; microphone gain, where adjustable, changes the signal you send. Increasing either without checking the cause may also make unwanted sound louder. Start with microphone placement and headset fit, then adjust the relevant control if needed.